Custom component
Introduce
In daily business development, we need to customize some business logic. Each game object may need a separate logic or "data driver". We develop business in the form of custom components.
Demo:https://eva.js.org/playground/#/component
for example:
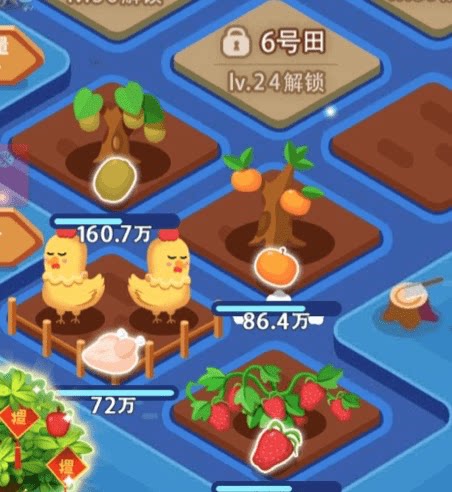
The experience of crop production in the plants of Baba Farm will change in real time,
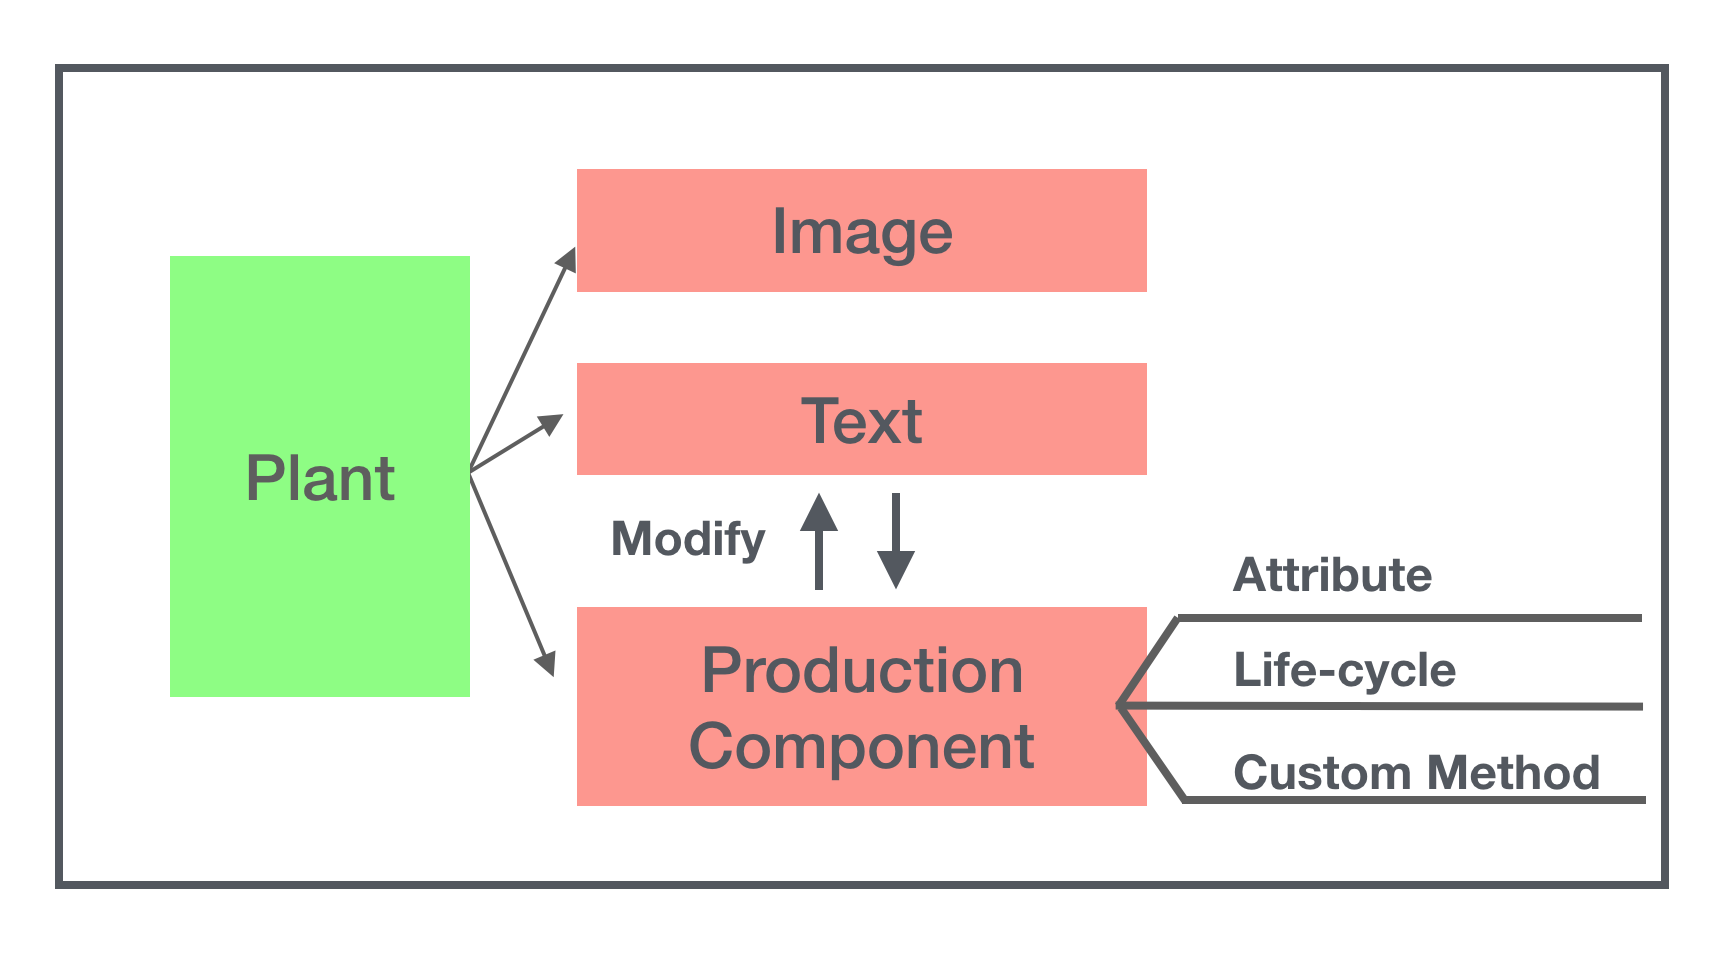
Step1: We create a production component Step2: Set the speed of experience production and the attributes of current experience on the component Step3: Through the life cycle method, modify the experience value according to the production speed in real time, and then modify the text on the text component to display the experience value Step4: Provide a custom event to collect crop experience, which is called when the user clicks on the plant
Initialization
Create custom components by inheriting Component
import {Component} from '@eva/eva.js'
class Move extends Component {
  static componentName ='Move' // Set the name of the component
}
Attributes
Set properties to the component, which can be used/modified in the entire component.
class Move extends Component {
  static componentName ='Move'
  speed = {
    // set properties
    // Moving speed
    x: 100,
    y: 200
  }
}
Install
To use custom component.
const go = new GameObject('name')
go.addComponent(new Move({
  speed: {
    x: 100,
    y: 100
  }
}))
life cycle
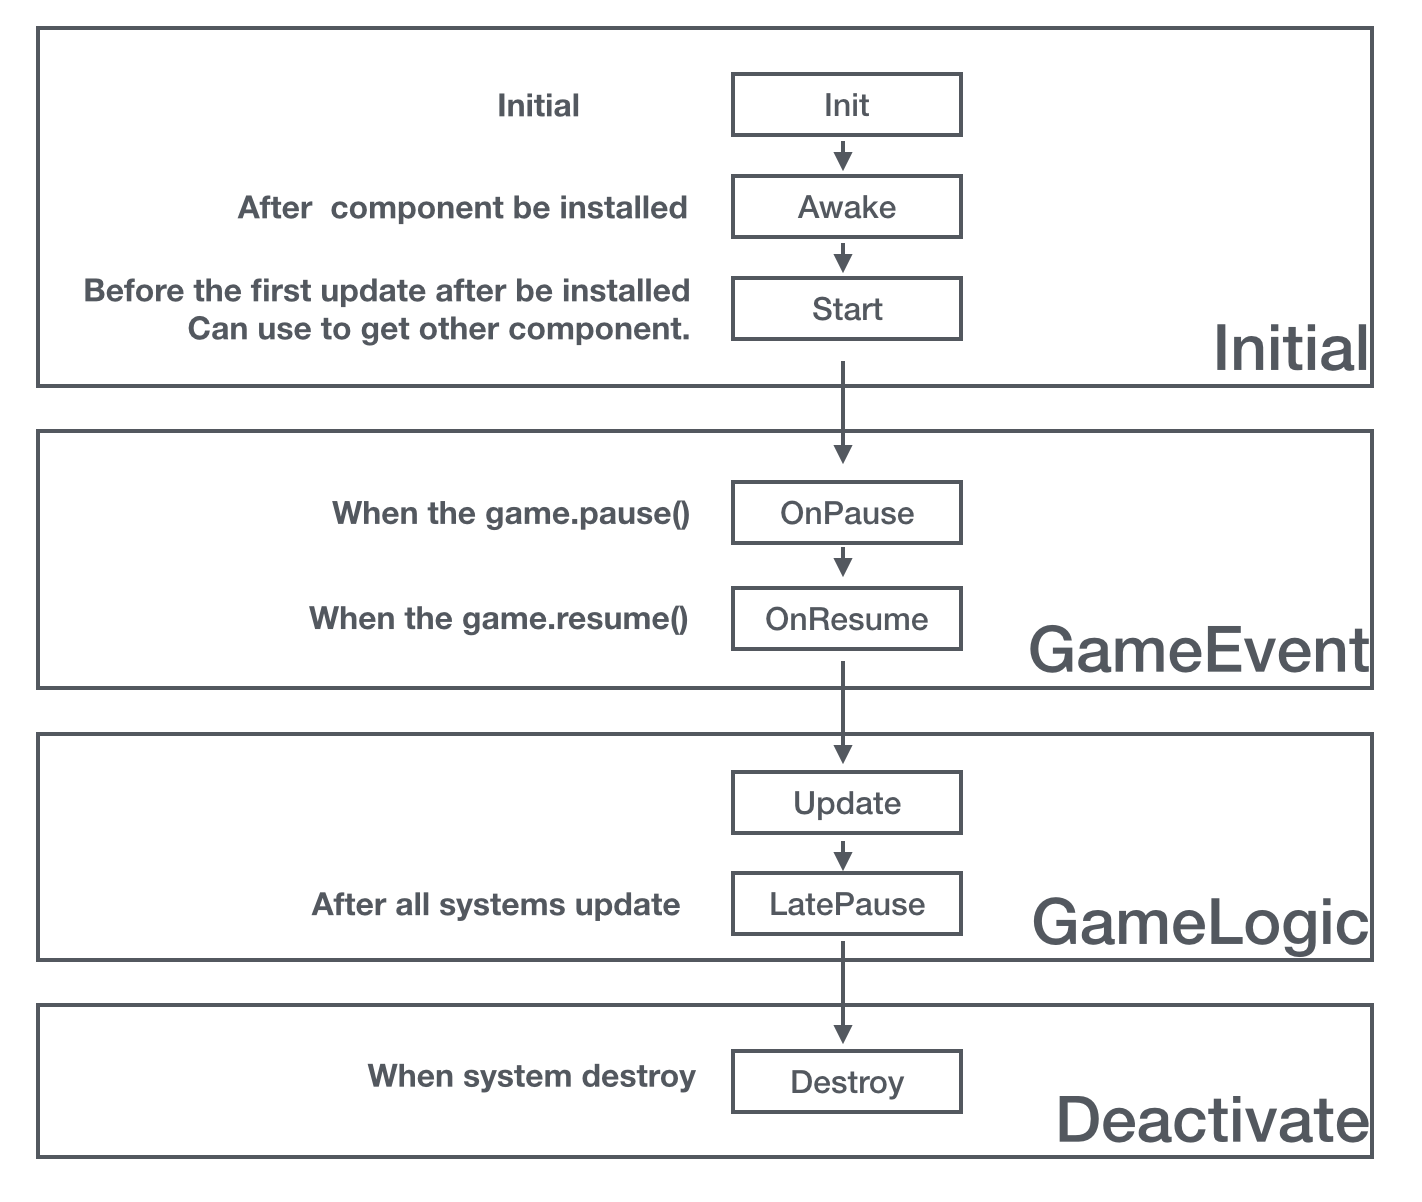
Initialization
Init
Create a custom component and implement the init method for initialization, usually by setting the parameters to the properties on the component.
The parameters passed in when the component is instantiated will be passed to the init method when the component is added to the game object.
Generally speaking, the parameters we pass in correspond to the attributes on the component.
This method will be executed at the time of addComponent, even if the current component is instantiated in advance.
interface MoveParams {
  speed: {
    x: number,
    y: number
  };
}

class Move extends Component {
  //...
  init(params: MoveParams) {
    this.speed = params.speed || {x: 0, y: 0}
  }
}
Awake
The game object is executed after it is installed in the game object. If the game scene and all game objects are ready, you can get the nodes that are already on the game object tree. We don't do this for normal coding development, but it can come in handy in editor development.
class Move extends Component {
  // ...
  awake() {}
}
Start
Like Awake, Start is also called at the beginning of the life cycle, but it will be called before the component is updated for the first time. We can bind other components to the object in the Start callback function.
class Move extends Component {
  // ...
  private img: Img = null
start() {
  this.img = this.gameObject.getComponent(Img)
  }
}
Game events
onPause
Execute at the time of game.pause()
onResume
Execute at the time of game.resume()
Game loop
Update
Execute every frame
class Move extends Component {
  // ...
  update(e) {
    // Let the object move at a certain speed displacement = speed * event
    const position = this.gameObject.transform.position
    this.gameObject.transform.position.x += this.speed.x * (e.deltaTime / 1000)
    this.gameObject.transform.position.y += this.speed.y * (e.deltaTime / 1000)
  }
}
LateUpdate
The last execution of each frame will be executed after the update execution of all components. Some components rely on the running results of other components, such as position following. After the animation component changes the position, the following component can read the position property on the Transform component.
Disable
Destroy
Called on destruction
Custom event
You can perform some operations on custom events on the component. For example, in the following example, an acceleration method and a deceleration method are added.
class Move extends Component {
  //...
  speedUp(value = 20) {
    this.speed.x += value
    this.speed.y += value
  }
  speedDown(value = 20) {
    this.speed.x -= value
    this.speed.y -= value
  }
}
 If you have any questions or need our help with development, please scan the code to contact us.